Complete Walkthrough
  _____  _                                    _____  _                  _
 |  __ \(_)                                  |  __ \| |                | |
 | |  | |_ _ __   ___  ___  __ _ _   _ _ __  | |__) | | __ _ _ __   ___| |_
 | |  | | | '_ \ / _ \/ __|/ _` | | | | '__| |  ___/| |/ _` | '_ \ / _ \ __|
 | |__| | | | | | (_) \__ \ (_| | |_| | |    | |    | | (_| | | | |  __/ |_
 |_____/|_|_| |_|\___/|___/\__,_|\__,_|_|    |_|    |_|\__,_|_| |_|\___|\__|
Getting started
After choosing your emulator, boot up the patched game. You'll be greeted to a cinematic attract mode that you can skip by pressing "start".
Then, choose a file, enter a name and choose "Yes" to start up officially.

Krystal's Introduction
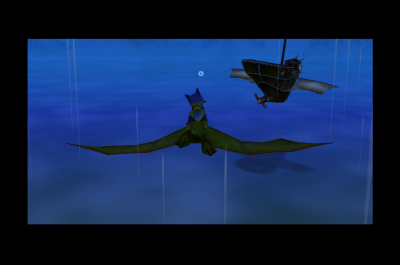
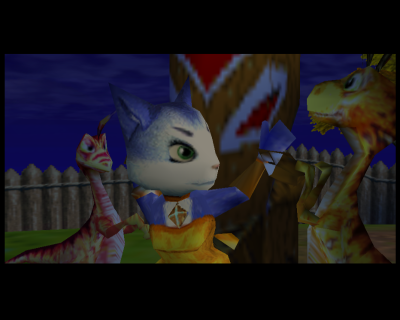
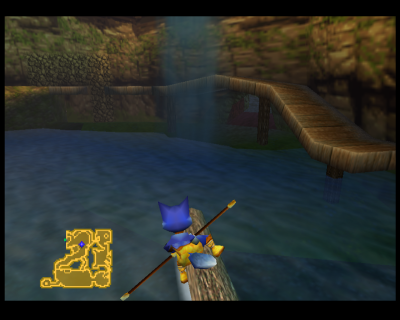
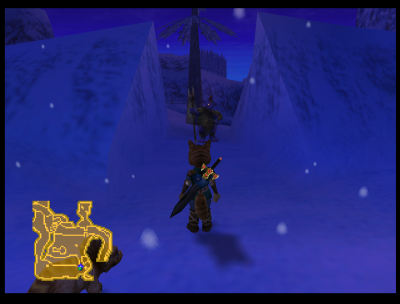
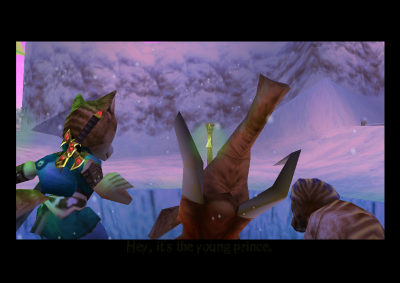
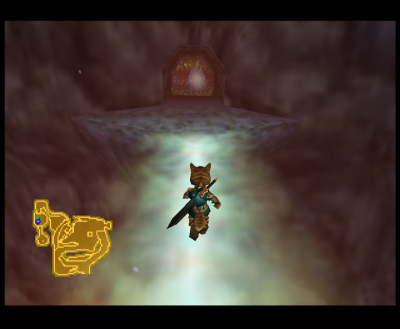
Starting up the game we are thrown into a short cutscene, introducing Krystal and an unknown Cloudrunner she is riding in the sky. They are suddently attacked by General Scales' Galleon. After the Galleon passes to the right in the cutscene, the player gains control over Krystal.
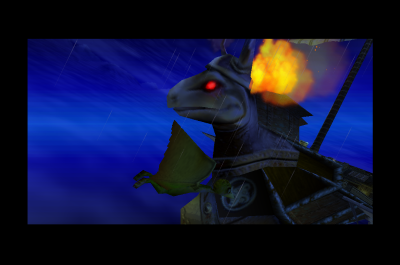
You must shoot the cannons that appear on the Galleon's deck. When they appear, shoot them with the A button to destroy them; they should take two hits each. The Galleon will back up and slowly move towards you, shoot its propellor until the Galleon moves away again, and shoot both cannons until they're destroyed.
Don't worry about getting hit, as you can't lose health during this sequence.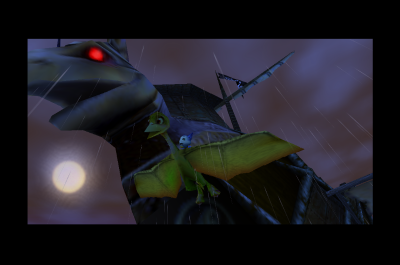
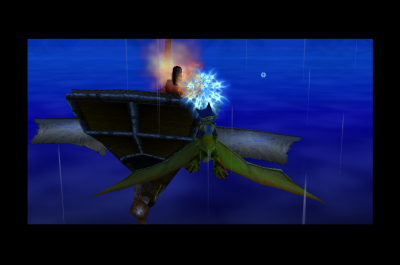
The Galleon will gain speed and turn around to face Krystal, do as the Cloudrunner says and "shoot the head" to finish the fight with a short cutscene.
Rescue on the Galleon
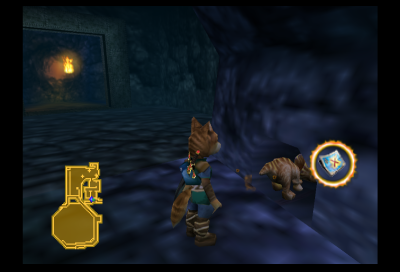
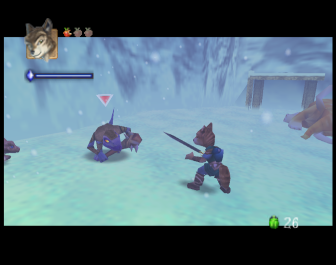
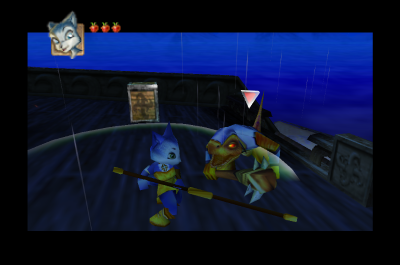
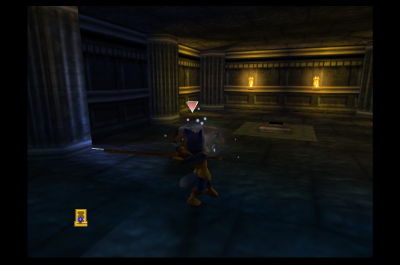
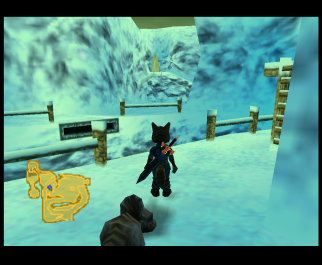
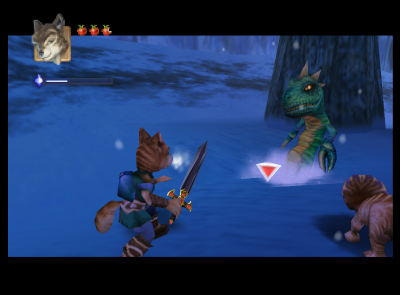
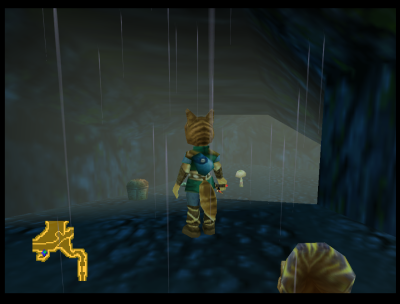
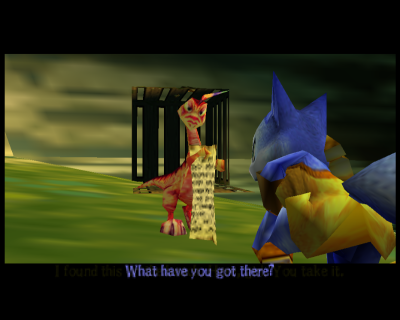
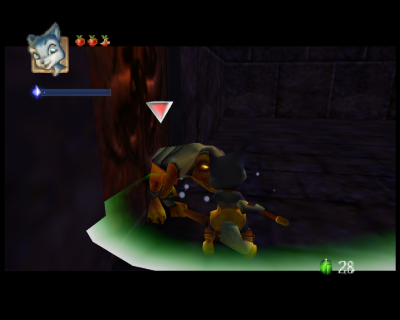
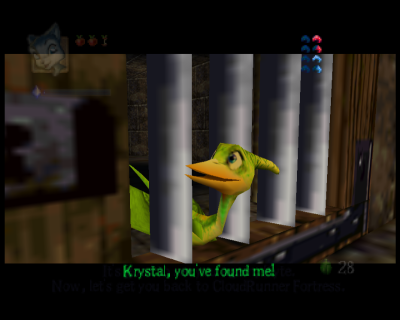
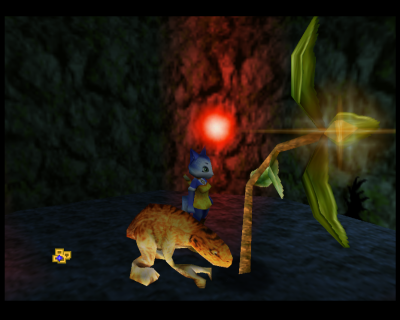
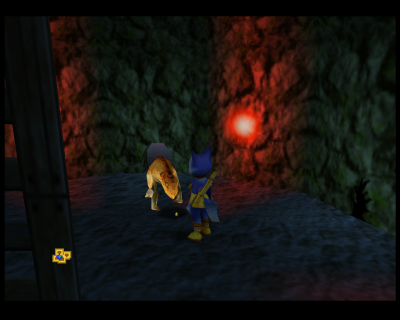
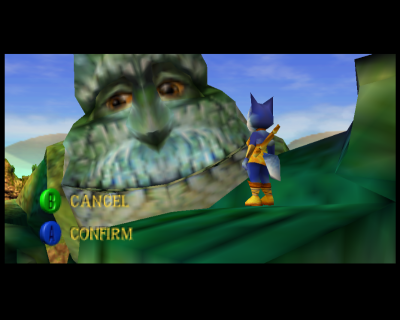
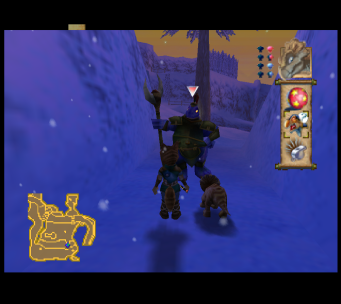
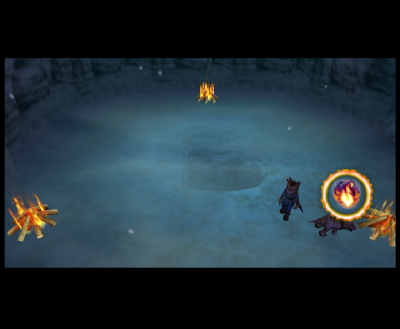
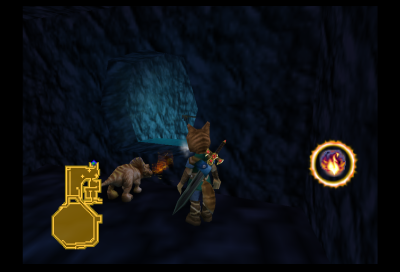
Krystal will land on the Galleon and tell her Cloudrunner to leave. You'll soon regain control and face the first enemy and tutorial prompt of the prototype, a Sharpclaw! Lock the camera on him with the Z button and use your staff with A to attack and B to dodge.
If you have lost health during the encounter, no fear - there are boxes with Energy Eggs inside that you can collect to regain health. Go down the stairs and towards the big door up front with the cage (With Kyte inside!) on the right. As soon as you go up the stairs there, a cutscene with General Scales will start.
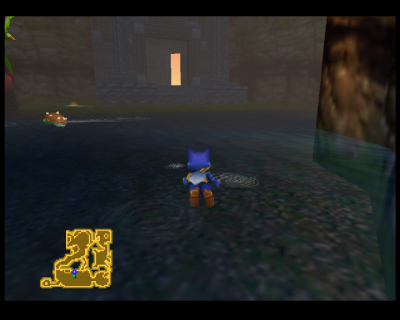
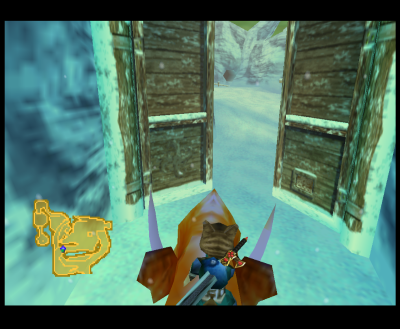
After this, the title will appear, along with a short credit scroll over the Galleon as they arrive on Warlock Mountain.
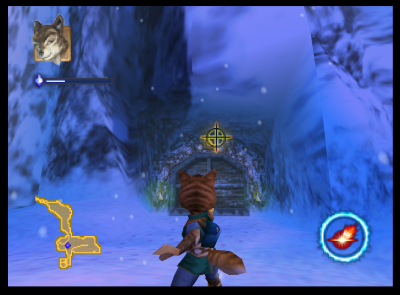
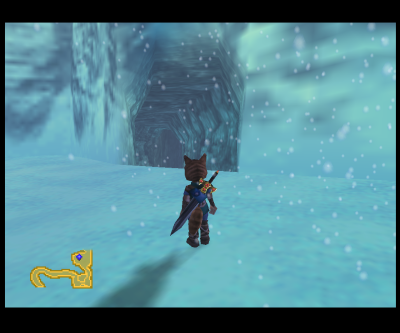
Warlock Mountain and Randorn
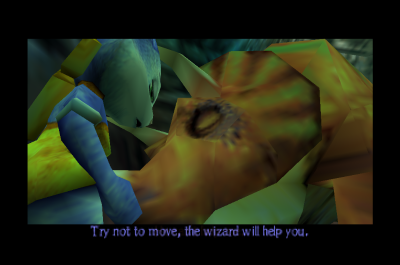
Arriving at Warlock Mountain, Krystal tries to free Kyte but to no avail. She decides to get the Wizard, Randorn to set her free.
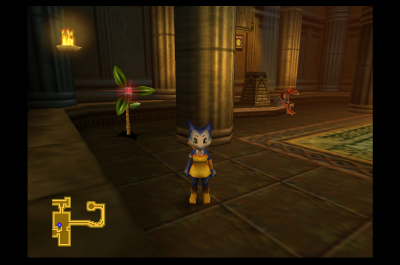
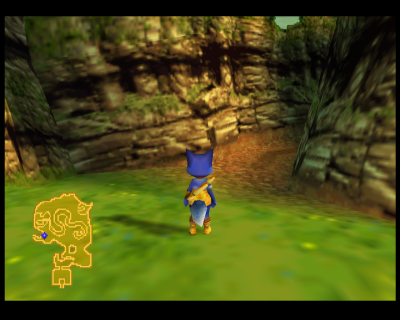
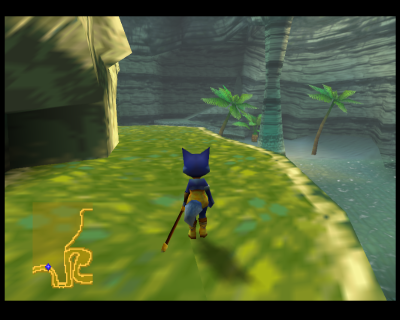
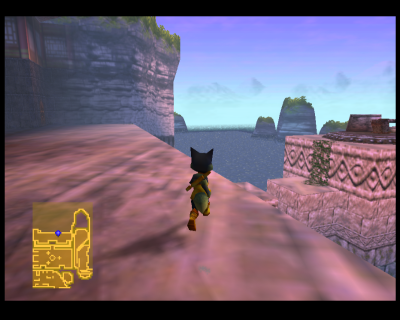
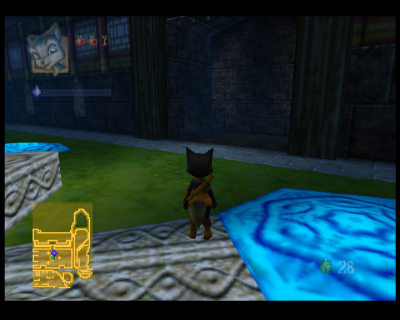
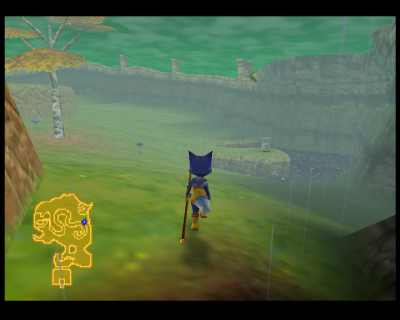
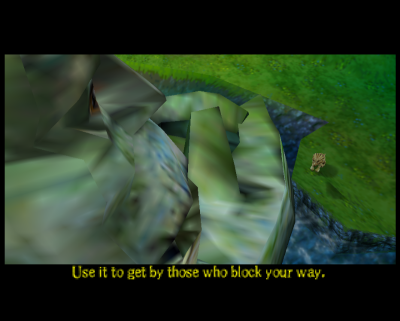
Walk forward to leave the Galleon and set foot on Warlock Mountain, as soon as you do, you'll see a Map graphic pop up to the bottom left of the screen. Krystal is the blue dot and the zones of the Map will update depending on which section you currently are - it's very useful for bigger areas.
Go to the right, there is a tunnel and just before it a floating jellyfish enemy, avoid it and enter the tunnel. Make a left turn, then a small right to arrive to a dying Earthwalker. You can choose to speak to them or continue your way to the right.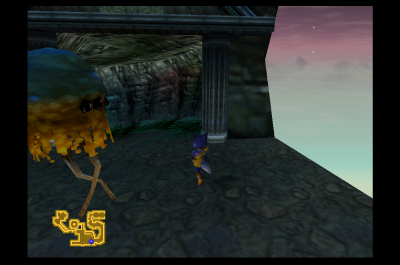
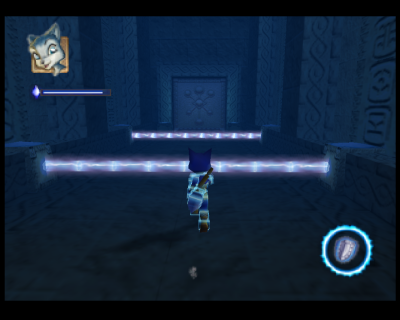
To the right of the dying Earthwalker, there is a room with three horizontal laser beams, they are timed - so just wait until they disapear to advance forward.
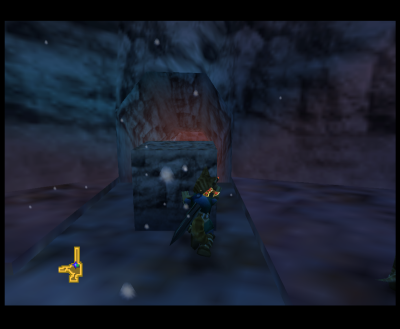
In the next room, a Sharpclaw is patrolling about in circle. Behind him, a broken pillar. Defeat the sharpclaw and go towards the pillar and pick up the smallest piece with A. Transport it on the pressure plate, you'll see a short cutscene showing the big door opening when Krystal is on top of it. Tap A again to drop the piece of the pillar onto the plate so the door stays open.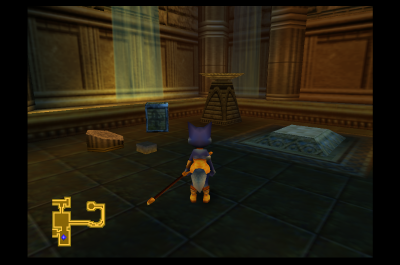
Enter the big door you just opened, you'll find Randorn on the left. Before talking to him, note the Magic Plant behind the pillar to the left of the room, almost fully in the corner. You can whack it with your staff to get a gem to replenish your magic meter that Randorn will unlock for you in a moment. Do not worry if you collected a gem before talking to him, like in Star Fox Adventures, the plants regenerate themselves after a short timer.
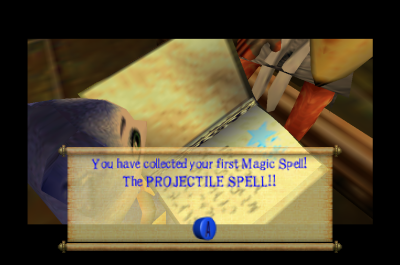
Talk to Randorn to start a cutscene about Dinosaur Planet and what to do next. He unlocks your Projectile spell too.
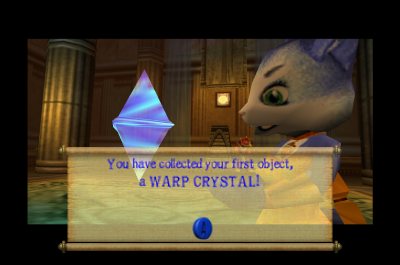
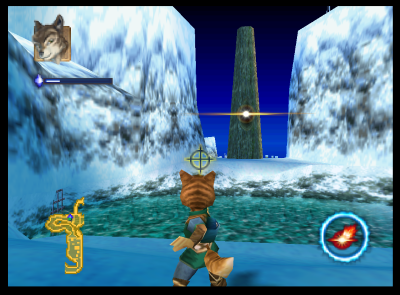
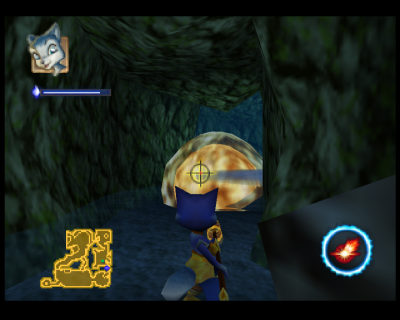
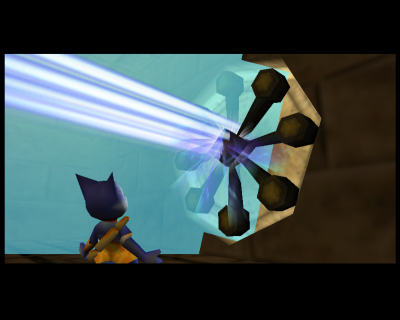
Now you gotta go back to the Galleon, so - first up, Randorn wants you to shoot an object (more like a target or a button, it's square with a circle in the middle) above him with your new spell, so use C-Left and then A over the Projectile Icon (In red, kinda looks like an explosion) to equip it. Krystal will be in third person view and you'll be stuck in place. The joystick will now aim the staff and A, will shoot. Shoot the target to make a Warp Crystal fall to the ground, pick it up with A.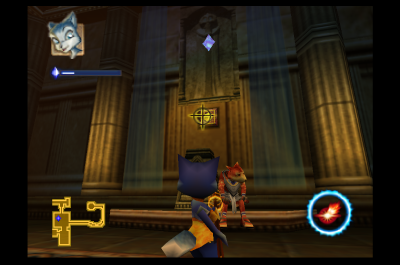
Trace your steps back : Starting in the room where you fought the Sharpclaw and place the pillar on the pad - go to your right back into the laser beams rooms. They are not timed anymore and will stay on until you shoot the three targets above them. They are quite far above, so you may need to look in first-person or equip your Staff to see them.
Shoot the first target, wait a bit until the laser deactivate and continue forwards. Repeat this two times and you are out of the room. Go uphill in the tunnel, making a bit of a left, right and you should be out by the entrance again with the Galleon in view in no time.
Almost out of the tunnel, a cutscene starts and Scales appears and leaves with the Galleon and Kyte still stuck in her cage.
Snap the camera back on Krystal, so you face the Mountain again. You'll want to go up the small incline you see on the right of the center structure, just to the left of the tunnel we were in before. Now in that opened room, to the right, there is a Sharpclaw on patrol and a pedestal on the ground. Beat the Sharpclaw and get closer to the pedestal on the ground.
Target the pedestal on the ground, tap the C-Right button then A on the obtained Warp Crystal to start a short cutscene where Krystal installs it inside. A door has opened and a teleporter is visible - we can leave Warlock soon!
Leave the opened room, to your left, go down the small incline, and then, a sharp right. You should see two pillars and in the far left a vine wall. If you look to your map for your position, you want to go under the opened room we were in with the Sharpclaw on the second floor. On the first floor, there is first a box to your right and to your left, the room we just opened up with the portal pedestal. To towards the portal, Krystal will step on it, then tap A to teleport out of the Mountain.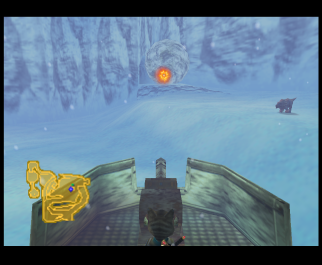
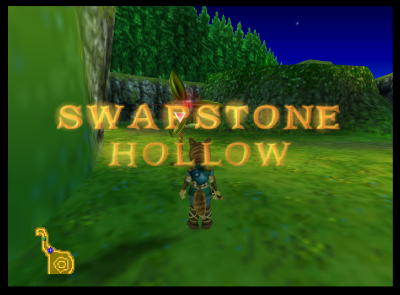
Swapstone circle
After teleporting, you lose control of Krystal and a lengthy cutscene starts with Rubble, the Swapstone. He breaks the 4th wall and forces you to switch to Sabre... for now. During the game, you must make lots of switches between Krystal's side of the adventure and Sabre's one. So, if you're stuck in a casual playthrough don't forget to look out for Rubble or his twin brother Rocky!
Sabre's Introduction
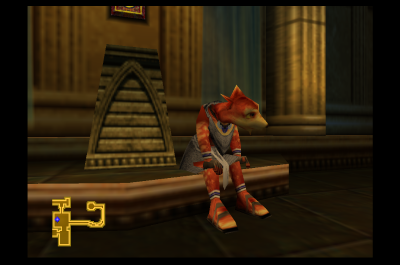
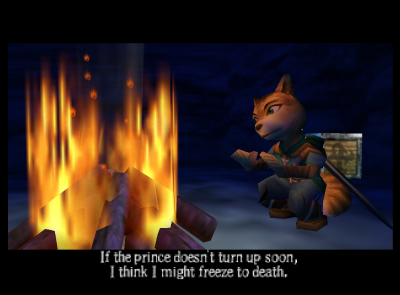
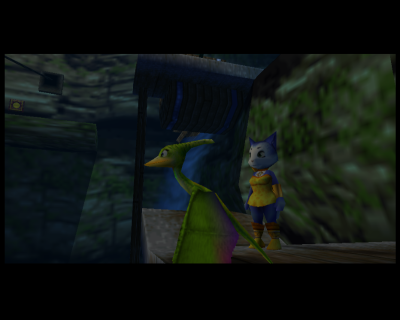
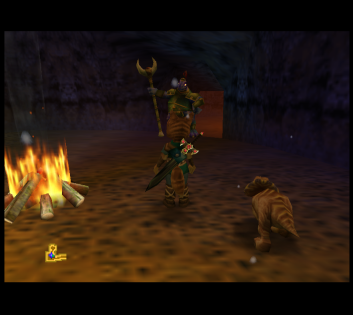
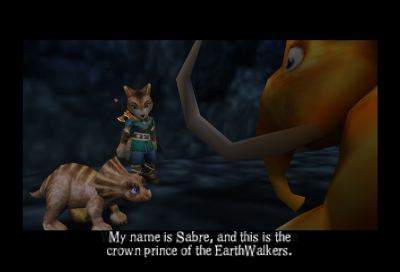
Switching from Krystal to Sabre with Rubble's magic, you're now in front of a fire camp waiting for Prince Tricky in the cold. Sabre mentions he was brought here by Randorn as well, who had insight on the Prince's location. Sabre witnesses the Prince's arrival from a flying ship and as soon as he's down on the ground, the two Sharpclaws that were waiting for him begin to attack. Tricky soon flees into a grotto opening and the Sharpclaws follow close behind him.
Getting that grotto door opened
You're in a small map, the long path to the North is blocked off. Simply go East, right in front of Sabre as you take control of him to battle some small enemies (Called Snipluk) that pop from the ground and get some magic refills from the Magic Plants - you'll need it to open the door, as it's a simple target to shoot at like in Warlock Mountain after talking to Randorn.
After shooting the target, the door opens and you can see the Sharpclaws and Tricky inside. Go save him!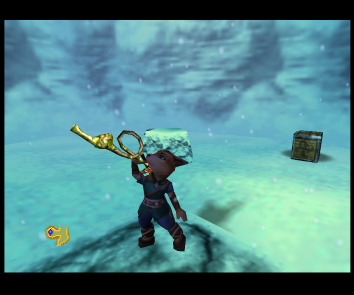
Now this is pod racing!
Both Sharpclaws escape on (flying?) snowmobiles. Sabre quickly grabs one and pursues them. You're now in Star Wars Racers!
You gotta make it to Tricky before the Sharpclaws do, otherwise you'll have to start the race again! On the snowmobile push forward on your left joystick to go quicker and stir to avoid wall and falling icicles. Each time you crash into them, you'll lose a lot of speed - so be careful! The race isn't very long and you'll know you've done it right if you pass by the two Sharpclaws. Once you've successfully arrived to Tricky before the Sharpclaws, a cutscene will play of Sabre falling down into a lake and Tricky will join your party!


The Prince is eager to help
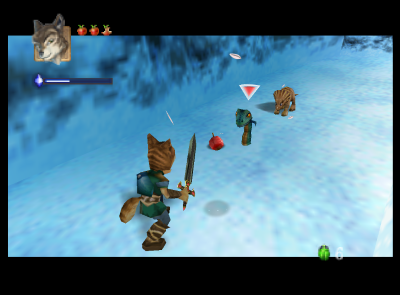
After the quick race, you end up in a small winding down clearing with Tricky. On your way, there's is a single enemy, a Snaplak and a running Blue Mushroom. Whack that Blue Mushroom and while it is stunned, run to it and press A to put it in your inventory.
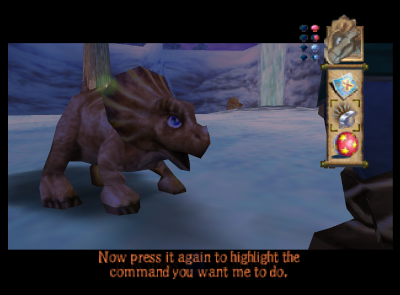
❓This is important to know, but not explained a bit until later in-game, Blue mushrooms are food to Earthwalkers and you have to save them up to get Tricky do to his Sidekicks Commands with Sabre. Krystal will have a similar partner mechanic with Kyte later on.
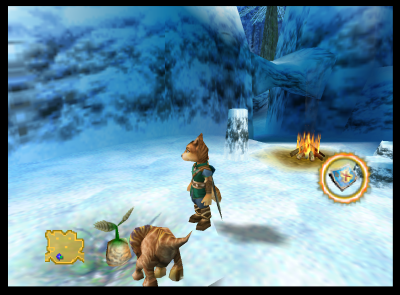
Continue down the winding road, shown on the right on your minimap. You'll soon arrive to a clearing with a Sharpclaw in view, tending to a firecamp. A cutscene will play, Tricky will apologize and tell you how to use the Sidekick commands.

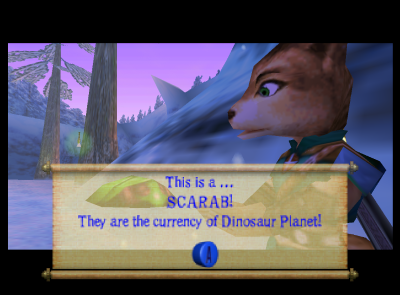
You are now in a open clearing. There is still an enemy hidden in a tree so don't be surprised if you get shot by a green energy ball while getting closer to it. The Snowhorn at the East on the minimap won't talk to you until you get him some Roots - but behind him there are two objects you can break to get some Scarabs. It's the currency of the Planet and will be useful for the Shop later on. Careful, like in the released StarFox Adventures, some will run away from you as soon as they break free from their hiding place, so be quick to grab them!
One Root is never enough
Maybe you saw the roots while exploring the clearing, but Tricky can't dig up them up right away. He needs practice as he says.
After grabbing the Scarabs, pay attention to the ground in front of the Snowhorn. There is a spot that is damaged. Use the C-Down button to open up the Sidekick Commands, go down again to hover above the Map Icon (Dig command) and click A to ask Tricky to dig up at the spot. A green light will come from below. walk to it and you'll teleport to a small tunnel with a room to get quite some Magic from a green Magic Plant. Walk back where you came from to be teleported instantly up back up front the Snowhorn.
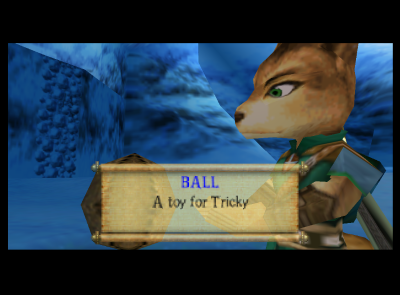
From there, go West following your minimap to find another practice spot to dig. A brown stitched up ball appears. It's a toy ball that you can use to play with Tricky. In the Sidekick Command menu it's displayed as a red ball with yellow stars, more similar to the E3 screenshots and RareThief gameplay leaked over the years.
That ball can be used later on to either play with Tricky for fun or use as a distractions for traps.
Before getting to digging the roots, Tricky will most likely be tired. Get close to Tricky, open up the Inventory with the C-Right menu and choose a Blue Mushroom. There will be a small animation of Tricky eating it and will replenish his stamina. Feed him one or two more.
Find the two Alpine Roots in the area and dig them up ; one is right of the fire camp when you first arrived, left to a tree. The second one is behind that same tree, beside a Magic Plant. If Tricky mentions that he is too tired when you select the Dig Command, give him a Blue Mushroom again.

Go back to the Snowhorn and feed him the first Alpine Root by getting close to him, opening up the Inventory with C-Right and selecting the Root. He'll mention that "one root is never enough" and also mention how to get out of the clearing (Which is most probably bugged and should have showed up after giving him the second root).
Give him the second Alpine Root to receive the Snowhorn Waste map (The next area) and he still stomp hard on the ground to stop the gieser in front of him. The boulder is now free to be pushed all the way to the wall - climb it and get out of the clearing.
Jumping across ice to Snowhorn Waste
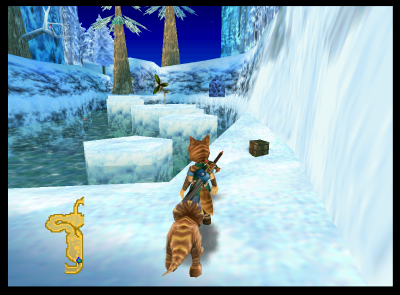
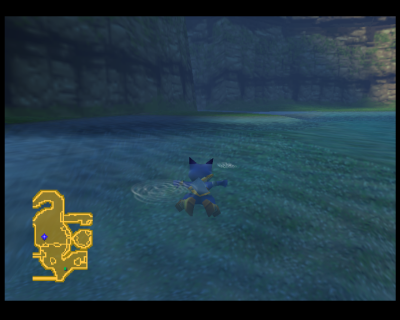
Pass the boulder you'll arrive at a lake with four ice blocks to jump over. Like in Ocarina of Time and the final Starfox Adventures, Sabre and Krystal automatically jump over gaps - just be careful aligning correctly and advancing forward to pass the ice blocks one at a time. There is a little way on the right, as you pass on the lake, but ignore it for now.
You'll soon arrive to a dead end after a big tree.Open up the Sidekick Command menu by pressing C-Down to tell Tricky to dig up a tunnel in the wall. This isn't explained by the game and is confusing, most probably missing a prompt from either Tricky or just text telling that Tricky can dig up walls. There isn't a mark on the wall either, so this could be a visual issue too.
Continue after the tunnel down a winding path, making sure to avoid the Snipluk, to a small lake. There is a tree on the other side with an enemy inside, shoot it to make it fall and walk across the lake to finally get to Snowhorn Wastes.
In Snowhorn Wastes, right away there will be a Snowhorn complaining that he needs help to get out - his dialog will appear at the bottom of the screen, but you can't see him yet. Don't be too worried! We'll save him next time we're with Sabre after switching back to Krystal in a few minutes.
Start by going to your right and descending the path. You'll arrive in a little space with two Snowhorn. At the almost complete far right side of it, there will be a diggable wall (Note the visual crack on it!) - dig with Tricky, walk down the tunnel and you'll have a shortcut to Swapstone Hollow where Tricky's mother is.
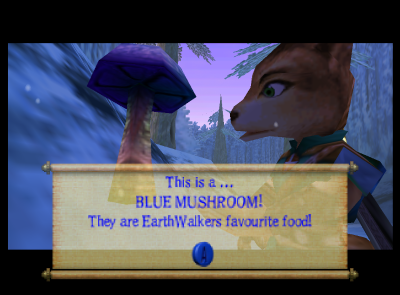
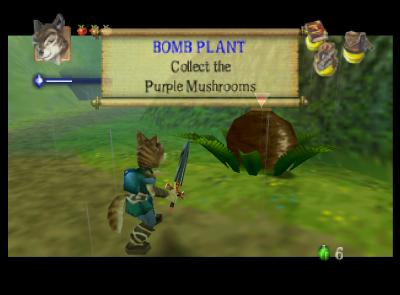
On your way to Tricky's mom, you'll encounter a Bomb Plant. They shoot up purple spores (Called shown as Purple mushroom in inventory) that gently fall down on the ground. Pick them up to collect them. You'll need them to blast away big walls with cracks once they're grown. They can be planted in interactive soil.
Saving the Queen Earthwalker
Continue going East on the minimap, up front from where you arrived from Snowhorn Wastes, pass the river and go up that tunnel with a green Magic Plant to the right. You'll find Tricky's mom asking your help and you'll need to get White mushrooms to heal her up after the Sharpclaws attack.
The White Mushrooms are around in the area of Swapstone Hollow (You'll need two Purple Mushrooms/spores to get them)!
The first four are right after passing the river, after talking to the Queen, to the right of the apple tree.
Continue on this same path, go uphill a bit to find a lone one by a vase/basket - right of the waterfall.
There is one behind a waterfall to the left of that hill we just went, that also contains a lone one hidden after bombing the wall open.

Take a right before the Queen's tunnel following the river. You'll find more soil to plant a Bomb Plant. One lone mushroom you need is in there after bombing the wall.
Go back to the entrance of Swapstone, where you came from the crawling tunnel. That huge hill to your right before that tunnel, is a huge "well". You can enter it with the ladder or drop down to save some time (You only lose an apple out of your three).
There are two mushrooms after dropping down by the huge poisonous, red mushrooms.
Continue in the well by going up the path upwards, in the next room - on the other side of the small river you should find the last White Mushroom. Pick it up and go back to the Queen by using the ladder and then jumping twice over some platforms and climbing a rocky wall to get out of the well.
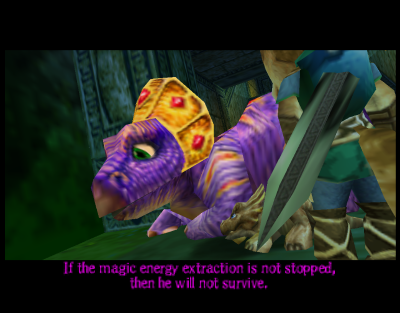
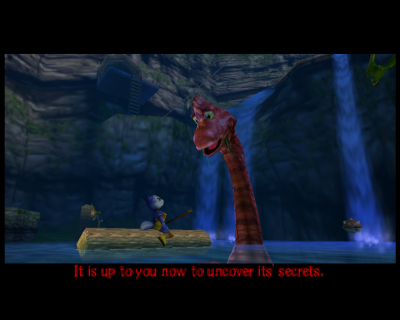
Give the White Mushrooms to the Queen and a cutscene will play ; Randorn's life is in danger and so Krystal and Sabre must collect the six Spellstones to stop the Magic extraction.
Rocky and the Cavern of Treasures
After the Queen Earthwalker's cutscene, go out the tunnel, left after the river and right of the waterfall. A sleepy Thorntail will have moved forward and the soil will be available to plant a Purple Mushroom. Plant one, let it grow, then either shoot or swipe at it with your sword to destroy the wall blocking the Swapstone.
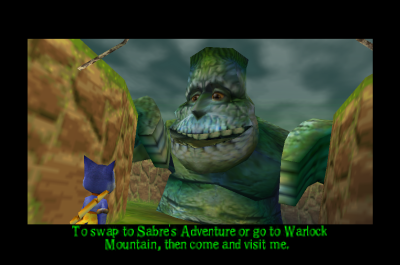
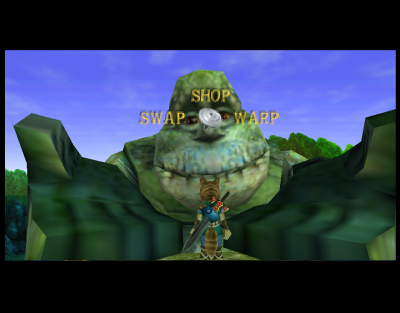
You'll gain access to Rocky, Rubble's twin brother! You can now switch back to Krystal, visit the Shop (Cavern of Treasures) or go to Warlock Mountain (If you have a spirit, a Krazoa, which is not yet the case!) Sabre's introduction and first part are done.
Krystal and the first Spirit
Getting to Cape Claw and saving a Lightfoot
Now as Krystal, start by going West in Swapstone Hollow. You'll see it on the mini map as the long path to the left going out. Enter the area to discover the beautiful autumn themed woods and the entry of the LightFoot Tribe (we'll visit them later on)!
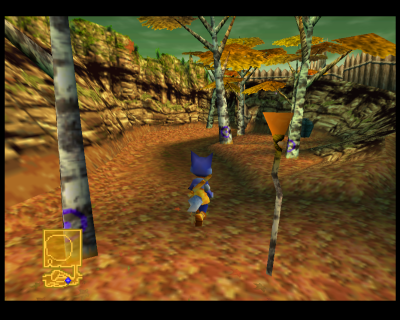
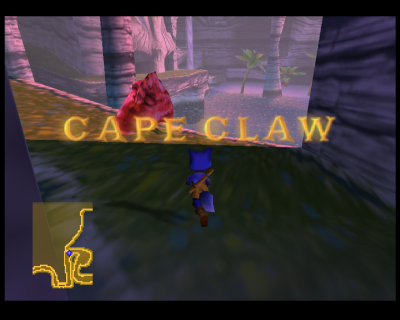
Continue down the little woods to an opening at the very end, where the rock become blue-ish and turns to the right slightly. (The music will change as well) You'll have a quick cutscene with two Sharpclaws and after battling them (Or avoiding them!), you'll enter Cape Claw.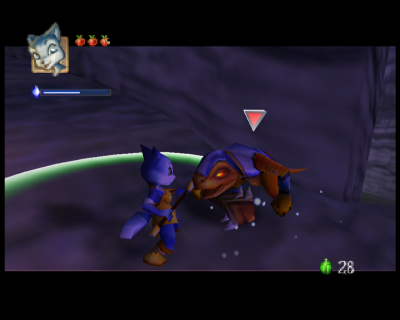
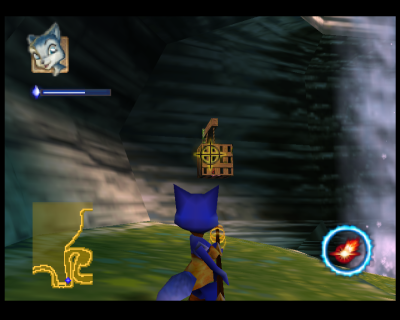
Turn left and go uphill. You should see a little dangling cage with a Dinosaur inside. Press C-Left then the A button twice to shoot the cage and make it fall. A cutscene with the Lightfoot giving you a spell plays.
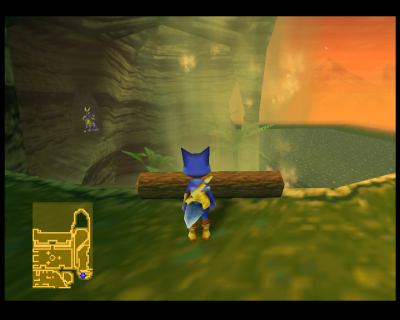
Continue your way to the right, passing the center rock, then all the way to a rocky wall. Climb said wall, then go to your left. You should see a log very close to falling down the cliff, push it down into the water below.
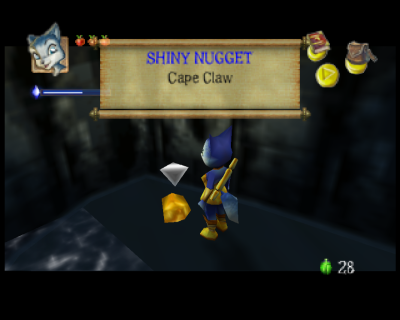
We're gonna use this log to get a Gold Nugget near by. The GuardClaw blocking the way deeper into the level will accept to be bribed with it, so we can continue our way in Cape Claw and save Kyte.
The Log™ and Nugget adventures
You should see the Guardclaw before you push the log down, to your most left-side, guarding a tunnel. Keep this in mind. We'll need to trace back our step after getting the Nugget. Don't worry, it's not very far in the waters!
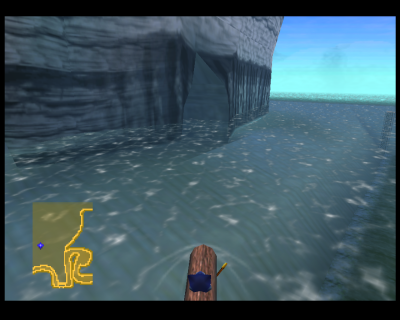
Get down the cliff and down to the log you threw off. Get close to the log and press A to embark it.
The Gold Nugget is hidden in a cave on the west side of the waters. I'd recommend getting on the log, then staying close to the left wall until you arrive and navigate inside by turning left, then right on the small beach inside. Press B to exit the log and press A to get the Nugget added to your inventory.
Embark back unto the log and trace back your step into the beach, west side of the minimap of Cape Claw - so hug the right wall after you leave the cave.
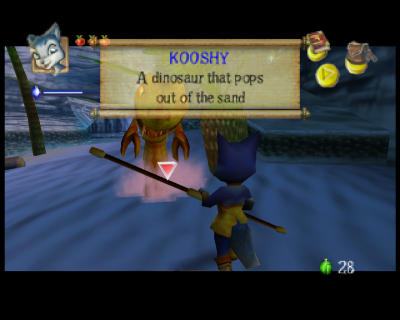
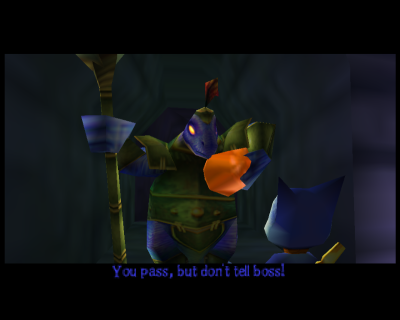
Careful, there's a Kooshy enemy on the beach waiting to ambush you. Get back into the trail and upwards towards the Guardclaw. Give him the Nugget by pressing the C-Right to open your inventory, then A over the Nugget to give it to him.
The room he is guarding at the end of the tunnel, is a trap poison room and you'll need to act quickly to disarm it. Before passing the threshold of the room, activate your newly gifted spell, the Shield. If you don't have enough Magic Energy, I'd recommend searching the area, then coming back. There is a blue magic energy plant along the path before GuardClaw; this is a great way to fill your magic energy before using the shield spell to stave off the effects of the poison trap.
Inside the room, push the four blocks over the center most of the room, towards the pillar with A and pushing forward. Two Sharclaws will then appear, quickly dispatch them and voilà! You've survived the dreaded poison room and can now continue into the beautiful Cape Claw.
Saving Kyte from the Sharpclaws
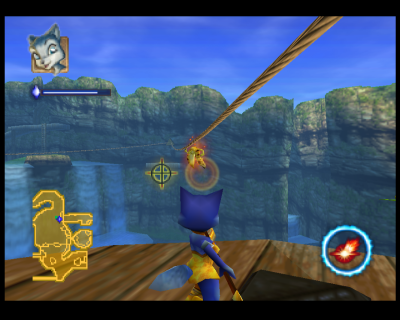
Next, you'll be in a opened section with two blocked doors. Fortunately, over to the right side, there is a cannon that Krystal can operate and will brake them open.
So, walk and climb over to the cannon et operate it with A, then move over with the control stick to the door on the left to brake it down by shooting it. You may have to shoot slightly upwards to touch it, by pressing A a little longer, as the cannon don't shoot very strongly if you only tap A. Once broken, get off the cannon by pressing Z button and get to the door.
Once in the newly broken door, make your way to the center where you'll see a blocked gate with two levers. Pull down both levers and fight the Sharpclaws on the other side once you pass. Face right, go down the small hill. You're right where Kyte is prisoner. (Look at the wall behind you, there's a locked cell!)

There is a lone Sharpclaw guarding her locked door. Beat him to recover the Cell Key. Open the lock and we have finally saved Kyte!

The pillars in front of Kyte's cage can be activated by her landing on them using the Find command. There is an order to it though.
Start by the shortest of them all to the far right, go left once, then once again to activate three of them and completing the miniquest. Two pillars will rise up with torchs to light up, we'll use the Fire command next. Both pillars are located just uphill, where you just fought the two Sharpclaws.
Get close to both pillars and use the Flame command. Kyte has a tendacy to fly around a whole lot, so I'd recommand keeping an eye on the pillar with C-Up to see if she's actually going in to light it up or have to say the command again. The locked door you entered with both levers is now reopened and you can leave.
The Lightfoots kidnapping and beacons sequence
Trace your way back into the poison room, the Guardclaw, where we saved the caged Lightfoot, then go again out towards the autumn woods when we first came in the first place.
Entering the autumn woods, you'll be ambushed and locked to a totem pole by the Chief Lightfoot who thinks you are a thief because of your Shield Spell.
The next section is a mini Sidekick Command minigame. You'll have to be quick to select the Fire command whenever Kyte flies nearby you and the attacking Lightfoot.
I'd recommand keeping the menu opened with C-Down to quickly be able to click again to scroll down to the Fire and selecting it quickly with the A button. The Lightfoot will catch fire and run away. Do this a few times to be freed in a small cutscene.
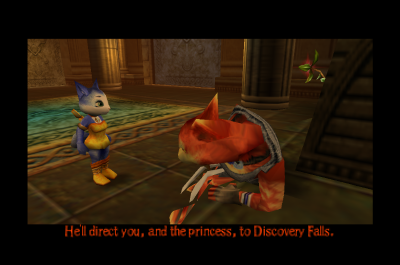
Now, there's nothing moment we can do at the Village (at the moment!) so leave by going to the right bottom trail. An automatic rotating door will allow you to leave. Make a left to go towards Swapstone Hollow and the Chief Lightfoot will stop you in a cutscene to help you on Discovery Falls. You have to light beacons to show the way with Kyte's flame command in Swapstone Hollow.
From where the cutscene ended, make a 180 degrees turn and face the camera behind you. Turn to the right and go towards the south to a small desert themed corridor. Turn sharply to the right to find the first beacon.
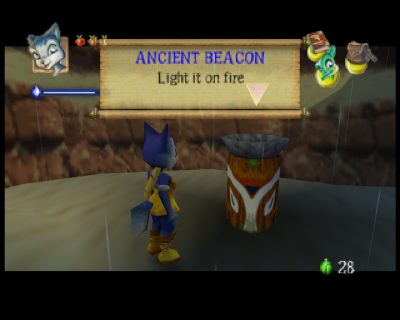
Exit the desert area and go up, to the right, where the second totem will be over a small lake to the right of a tree and Blue Mushrooms.
The last pillar is upwards after the second one, before a huge totem - again over water. Light it up and a Lightfoot will come drain water from this section to allow you to continue in a crawling tunnel towards Discovery Falls.
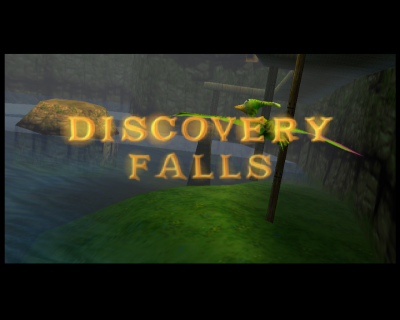
So, this is Discovery Falls!
Enter the crawling tunnel and go down two little waterfalls to arrive at Discovery Falls.
Go left on the beach and use the (more stable and visually pleasing) log to go towards the huge waterfalls to speak to a Hightop in a cutscene. He'll instruct you to go to the Shrine they discovered in the area, before Randorn was taken away by Scales. You'll have to activate the Shrine by finding four buttons hidden in the area.
From there, go to the little beach on the left side to find a small climbable wall, then a longer one on its right. On the longer wall, hug the left side to turn and get on a higher platform.
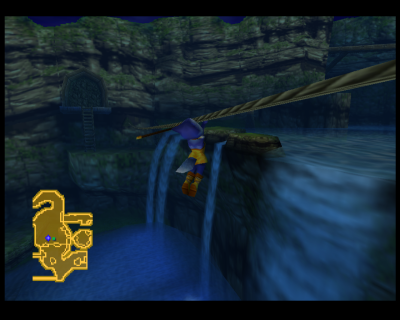
On the platform, there is a button with a rope icon. If you stand on it and press A, you'll automatically jump and hold on to the rope above. Move the joystick forward to go all the way to the other side.
Kill the other Rope Baddie and pass on the second rope to come over again on the same side, further down into the area.
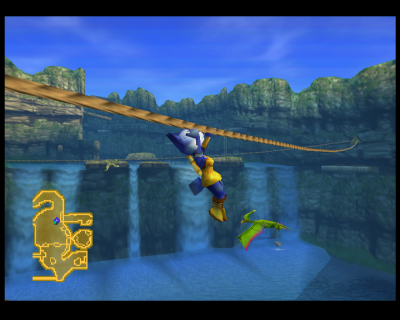
After traversing the magnificent view of Discovery Falls on both ropes, you'll arrive to a opening with a ladder going down to the first button we need to press.
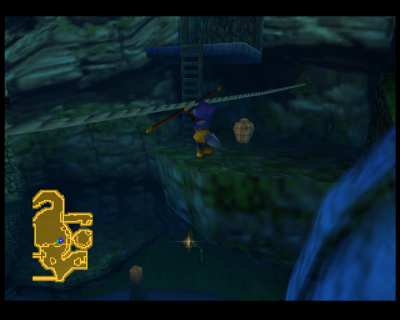
Jump a few long platforms on the right to get into the floor below. A very friendly Sharpclaw will offer you a Food Bag in exchange for his life.

After pressing the button the friendly Sharpclaw was guarding, it will lower a ladder you can use to get out of the cave. After going up all the way, you may need to reset the camera by going in first-person view with the C-Up button to help out the camera get out of the cave as well.
Make a sharp left and climb the short climmable wall to access the top of the waterfalls and a second log. Use it to go to the south, away from the waterfalls to a small island connected to a small path upwards. Get off the log, on the small isle and up the small path were you'll arrive at a cul-de-sac.
You need to use Kyte's Search command and she'll activate a far away lever activating a moving wood platform in the distance. We'll take a ride on this later!
Go back into the log, but don't come back into the same beach as you arrived with this log, but instead go the second little beach in front of the one you arrive. So, hug the left side with the log and not the right side.
Get off the log, onto the isle and up the platform and enter the second tunnel where the second button to activate awaits us in a small poison room.
Activate your Shield Spell then go towards one of the small explosive barell to the up right of the room, pick one up with A and place one down to the cracked wall. Return to the uphill, safe from the poison, remove the Shield spell to save up on Magic energy, shoot the barrel - then reactivate the Shield, and go activate the button behind that newly exposed cave.
If you have enough Magic Energy, you should have enough left after clicking the button to get out again of the bottom of the room filled with poison gas.
Leave this room and take a right to take the moving platform. It will make a slow turn to the right, then after lifting up there will be an opening to the right - jump there. Two Sharpclaws will await for you, one will hide behind a door.
Beat the first one, grab a explosive barrel, put it in front of the hidding Sharpclaw in front of the door and make it explode over a safe distance. Beat the second Sharpclaw, activate the lever and go down the opened patch below to meet... Capy!
They'll eat the Magic Plant, then dig a tunnel out the wall just for you. How nice.
In this little tunnel, you'll find a lone egg in a box.
After getting the egg, go out the tunnel to find Capy again. We want to steer him towards the left side of the ladder, where there is an other cracked wall.
Get in the center of the room, towards the ladder. Use your C-Right button to open up the inventory, use it again to go over the Food Bag, press A, then use C-Right again to go down an option to we choose the "Give" option and confirm by pressing A over the meat icon.
Krystal will give out the food on the ground for Capy. He should find it and eat it. After that, he'll follow you for a short time, so get in front of the tunnel you want him to dig and get a second egg out. He'll eat it and then dig a the tunnel for you leading to the third button for the Shrine.
You can leave after, all say thank you Capy!
Now out, wait for the moving platform to move up towards you. Wait while it rotates to the left to jump on it. Ride it out until the end of it's ride and get out. You'll be on a rope button again, but no rope in sight! Use the Find Command for Kyte and she'll bring the rope out for you to use.
On the other side, either use the log or swim directly under the platforms - behind the waterfall to reach a tunnel and inside a small cutscene with three... erm... two Sharpclaws transporting explosives.
You'll have to continue the explosion work, so concentrate your efforts where the Sharclaw lost his life (😔). The other cracks in the wall are not the objective. Transport one barrel up to the cracked wall, make it explode. You'll have to do it three times before reaching a small flooded room. Bring a barrel again, this time, let it float on the spiraling current.
You'll have to time out your shooting to make it explode when it arrives at the crack, at the up-right end of the room. Drop the barrel then line up your cursor in advance and start shooting when the barrel is touching the light at your left side and shoot more then one projectile to be sure to confirm a hit.
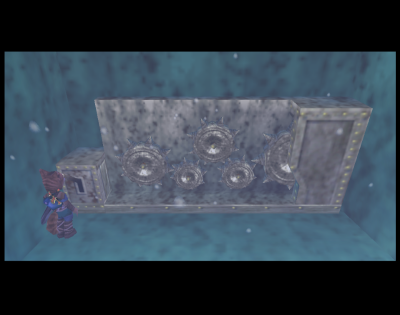
The water will drain and you can push the fourth and last button to access the Shrine. (In Donkey Kong 64 announcer's voice: Weeeell done!)
Test of Combat and the first Spirit
After exiting the cave, make a sharp right to find a climbable wall. Jump the platform on the left wall to arrive to a small isle again where you can jump to another platform. You'll find a latter climb it and go down a pretty long climbable wall to arrive at the Shrine.
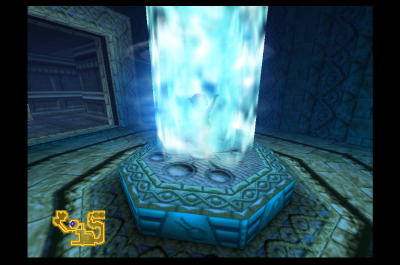
Simply swim to the Shrine and take the teleporter to the first test, the test of Combat!
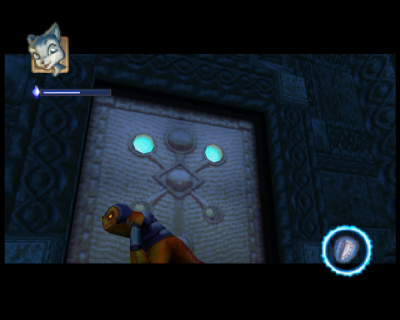
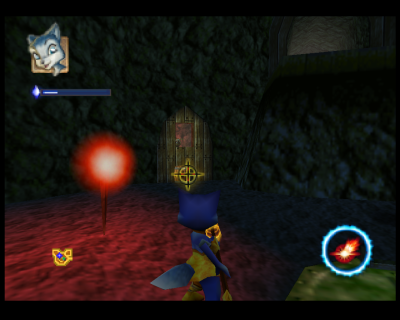
The first Shrine is fairly easy. Enter the Shrine and put up your Shield Spell to pass the lasers.
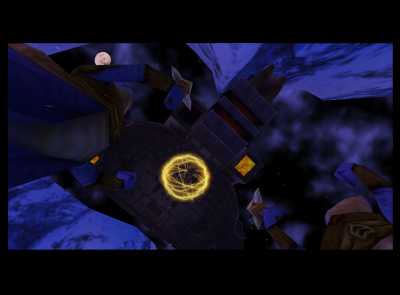
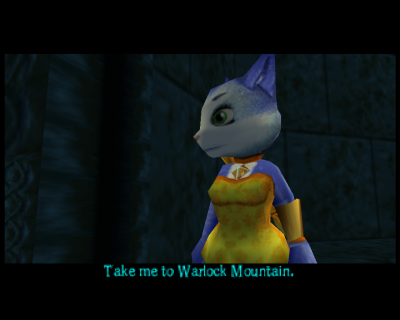
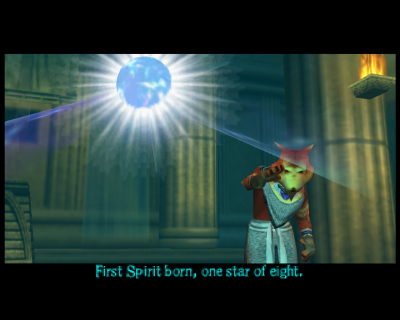
After that, it's a Combat test with some Sharpclaws. Battle a couple of them until the Spirit appears and a cutscene starts. You have passed the test! Getting out of the Shrine, the Spirit will speak to you and demand you to take it to Warlock Mountain.
Leaving Discovery Falls is easy compared to climbing it up. Simply go down by swimming all the big waterfalls to come back to the very first area of this section.
Trace your step back by climbing up the small waterfalls via the climbable walls. Make your way back to Rubble and push to the right on your joystick to go to Warlock Mountain.
On Warlock Mountain, take a familiar right into the tunnel with the winding down road to the laser room.
Talk to Randorn and after it, take the small elevator nearby to the right and a right again, to put away the Spirit.
After putting away the Spirit, leave WM by passing the three lasers again and shooting the three up targets to deactivate them (Or use your shield!). Use the teleporter after the tunnel, in the right room.
Talk to Rubble again and switch out to Sabre's adventure. Congratulations, Krystal part is done. (For now!)

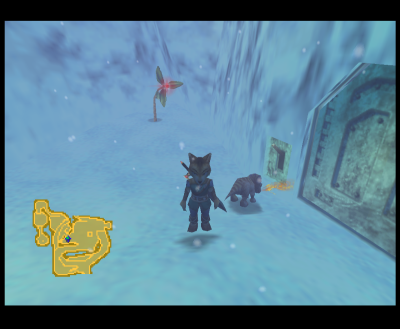
Sabre and Tricky goes into the Mines
Upon switching, Rocky will say to Sabre that Tricky learned the Distract Command. This is what we need to help the iced Snowhorn in Snowhorn Waste who was blocked by a Guardclaw, so let's go save him!
Push the twelve Frost Weeds
Let's get back to Snowhorn Waste. From Swapstone Hollow, go back the entrance crawling tunnel you went in, when first visiting to heal up the Queen EarthWalker. So pass up the river, make a left, pass the well on the right and the tunnel should be upfront.
You should be back in Snowhorn Waste and directly in front of a GuardClaw we first passed by visiting this section. (We couldn't pass him without the Distract Command. The Snowhorn in need of help is the one shouting "Will somebody get me out of here!")
Get closer to the GuardClaw and use the Distract Command. You should be able to pass by one of the sides of the distracted Guardclaw.
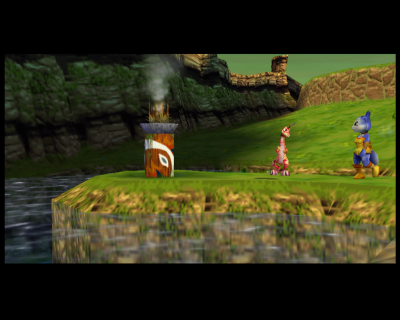
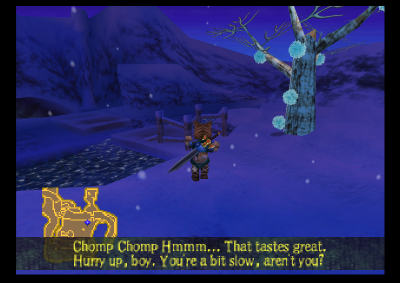
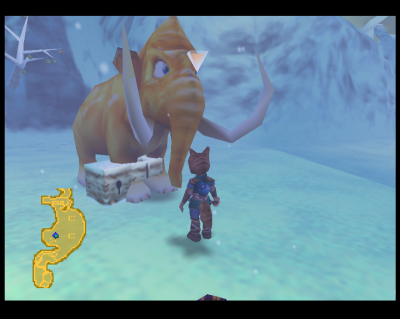
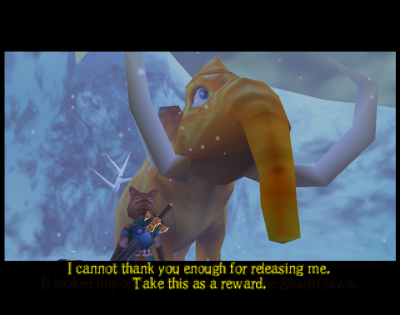
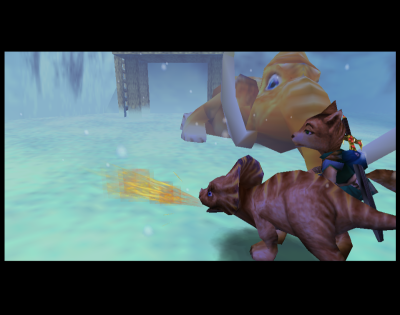
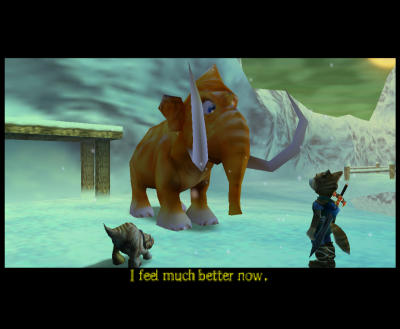
After the distracted GuardClaw, continue advancing to find a huge frozen lake with Garunda Te inside, with only his trunk out at the center. He will ask you to bring him Frost Weeds, whole twelve of them, so he has the strenght to break the ice and get out.
Now, the Frost Weeds quest is not hard, but it's for sure tedious.
You have to wack the tree, so the Weeds falls down. Now, you cannot whack the weeds themselves, even though they would be easier to carry them, they will explode when putting them down toward Garunta Te. You have to push them towards him and he will suck 'em toward him and eat them.

A good and quicky method of completing this quest was worked on by speedrunner, molly.
Watch the video to understand more in details, but basicly they're using heavy help of Tricky to push the Weeds more easily and keep them in range of Garunda Te, so you should be able to help quicker then getting more than one each trip.
Another way I found to complete this is to start behind the tree, back facing the river. Wack the tree, walk forward to force the weeds towards Garunda a bit, then when you about as far as the enemy tree to your right - push the weeds to the far right towards the fence. (They can't fall down). Then stop moving when they're on the right side of Garunda. (When you stop moving, the Weeds should come back towards you a little bit.) Let then come a little towards you, they push them left diagonally to Garunda and he should attract them to the center, to his trunk.
If you're lucky, you may be able to push one to three per trip once you're used to the route!
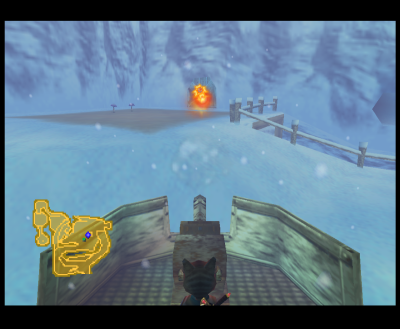
An extending bridge and a snowstorm
Garunda Te opened up the way to the DarkIce Mines, so left of the Frost Weeds tree, there is a broken path/bridge and you can jump over it to go forward to the now opened door. If you watch the RareThief or E3 video, this area will be very familiar; the fireballs go over some path and you have to jump over broken ones.
Quickly traverse the paths to arrive at DarkIce Mines and to the left you'll see a locked down SnowHorn - our next mission. We'll need to distract a second Guardclaw and get the key to their lock.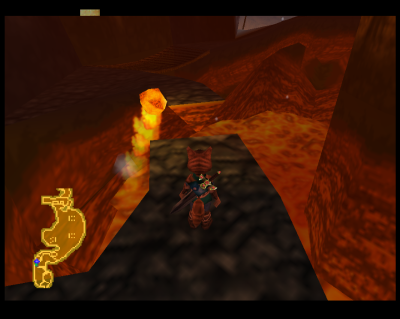
On the left of the Snowhorn, you should see a tunnel winding down. Inside, at the right, the Guardclaw. Distract him, break the box and get the key inside.
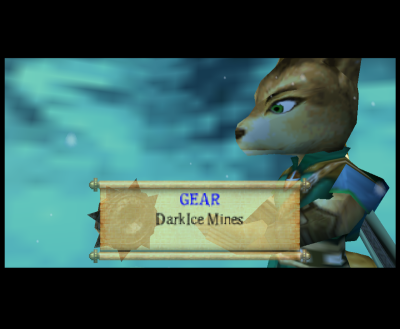
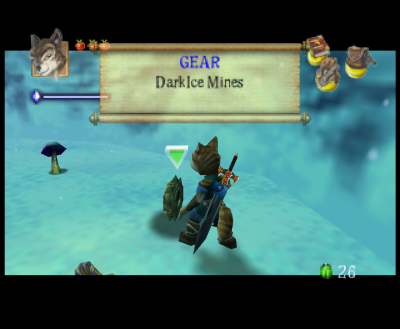
Go back to the Snowhown, use the C-Right and select the key to free them. They'll give you a gear, which we'll need to use to extend a bridge further down the Mines.
Now, with the gear in hand travel north on the minimap to a retracted bridge. On the right, behind the waterfall, there is the mecanism allowing to extend the bridge.
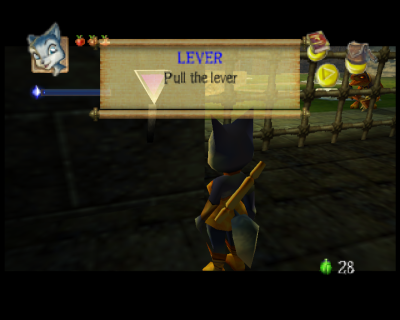
Drop down in the river, swim to the right, grab onto the ledge and put the gear into place (At the center) with your inventory button C-Right, then press A to place it. Pull the lever down then to extend the bridge, allowing Tricky and you to pass over.
Passing the bridge, pass the Snaplak and go to your left by a tunnel. A Sharpclaw is beside a fallen Snowhorn. Beat the Sharpclaw and talk to the Snowhorn, Tricky will learn the Flame Command.
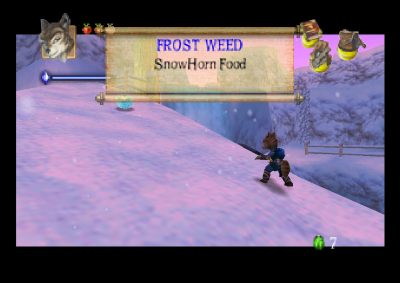
The Snowhorn wishes to help you pass the valley, but they're too weak. We gotta find two Alpine Roots to help him recover.

Let's backtrack a little bit by going back over the bridge we just extended. Enter the first tunnel on your left, there is a small iced room with three campfires to light. Use your newly aquired Sidekick Command to light them all up and the ice will melt - allowing you to go down the exposed tunnel.
Inside, after a small round room with lights piercing through and enemies, there is a lone spot to dig up for your first Alpine Root. To get out of the tunnel; you gotta push a rock at the end, to allow you to climb, then get enough height to get out completly.
Now, go back to the bridge we extended, pass the Snaplak and make a right in the path below. Continue to hug the left wall until you find a inclaved iced wall, that Tricky can melt. Melt down the wall, ask Tricky to dig and take the second Alpine Root.
Make your way back to the injured Snowhorn by coming back to the Snaplak, passing the tunnel and finally, giving both Alpine Roots to the Snowhorn. You'll be able to mount him go inside the Mines, through the big doors.
Ride the Snowhorn and go front and to the right to the big doors. They'll open to the Snowhorn. You'll see a pedestral upfront where you can stop and disembark by pressing A again.
Go towards the center of the area, then to the left towards a closed door and Magic Plant. You need to thaw the lever, left of the door with Tricky Flame Command. Then, activate the lever.
Once activated, the center of the map will open up and a cannon will appear. Tricky can help you deal with it; use the Distract command to make it turn away and whack the Sharpclaw behind his back.
We'll use the cannon to burn up tents. One of the tents to the right of the lever we just unthawed, hides a gear we'll need for the Northern Wastes - so destroy away!
Second, move the giant snowball out of the entrance of a tunnel it blocks, up north by shooting it trice. You'll also need to shot up the tents upfront of it.

And finally, destroy the blocked door at the north east with three shots of the cannon.
With the door down, go inside, there is a second gear hidden in a box, along with two Dinosaur eggs if you need it for your health.
Get out of the small room, go upfront, right of the big snowball you moved in front of the tunnel. You'll see a Snowhorn dock, go left uphill and an other left. In the boxes to the right, there is the third gear hidden away, collect it. Tricky can also dig up a Snowhorn spot on the ground that we'll use later on.

Just be careful, Tricky pathfinding in the area is a bit weird and he got easily stuck turning in circle as well as running in a wall trying to dig up the Snowhorn mark. Ask Tricky to Follow you, get on the dig up spot and ask him to dig up to avoid the issue.
That door and lever that needed fire, is our next objective. There's a bridge that can extend, so we to continue on. Make a right at the bridge, go up the small platform and inside the small tunnel. Place all three gears we collected here in the area.

Believe in your quest, Sabre!
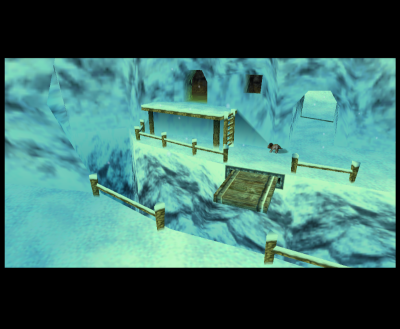
Pass the extended bridge and go right upwards to find a small incline and room with a lone Snowhorn. He's telling that a true believer may cross the divide. Right in front of him, there's a grand room with a huge ravine. Be courageous and walk into the emptyness!
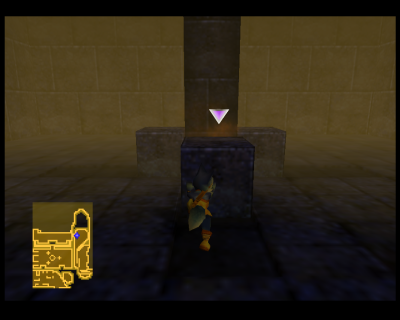
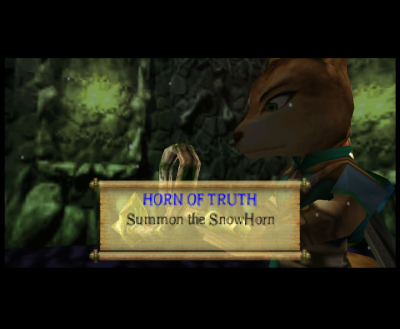
You'll soon arrive in a small room with the Horn of Truth on a high pedestral, you cannot reach it so, turn 180, place the camera behind you and shoot the target on top of the entrance of this very room you just entered.
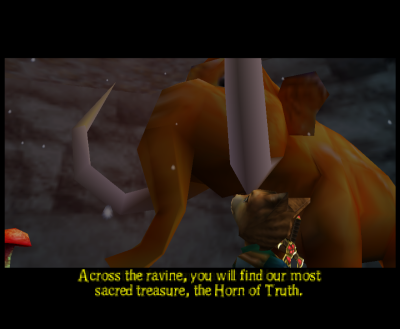
The pedestral will lower down and you can collect the Horn of Truth.
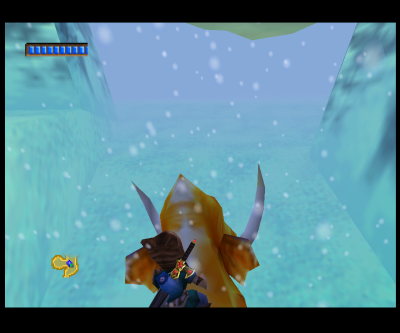
Trace back your step to the cannon area, go into the left toward the tunnel that was blocked by the huge snowball. You'll be back with the docking area and the left uphill toward the Snowhorn button you dug up some time ago. Place yourself on the Snowhorn spot and use your Horn of Truth to call a Snowhorn and they'll walk up to the docking area.
To continue forward in the storm, you'll need to ride the Snowhorn - you cannot go on foot with Tricky. Embark on the dock, on the Snowhorn, turn around and march forward into the storm.

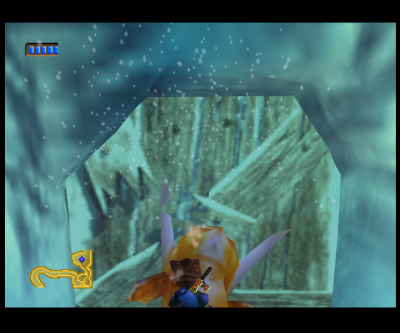
You need to walk up to Alpines Roots to keep your Snowhorn alive, so start going up front, then turn a little right, then left and front to advance on a small bridge then a little front and right to arrive to a dock.
Before docking, you'll see a huge door, ram it down with the Snowhorn by getting close and hitting A trice to brake it open. Get to the dock and desembark from the Snowhorn.
We're very close to the mines, we only need to ride a snowmobile to descend the trail we saw throughout the level to get inside.
Simply follow the trail down to the mines, don't be surprised there will be two "cinematic view" while riding, one showing a left turn and the other just before turning left to go inside the Mines. When down there, your snowmobile won't follow you and you're on foot again.
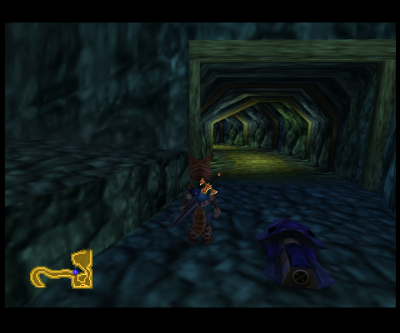

Finally, inside the DarkIce Mines
Immediatly, you're on a moving floor, so run towards the camera and away from the high flames - wait for the flames to put out very briefly to pass each one. After the last one, make a quick right to get out of this section.
Now out of here, make a south-right move (on the minimap) to a small incline and a tunnel on top of it to the right.
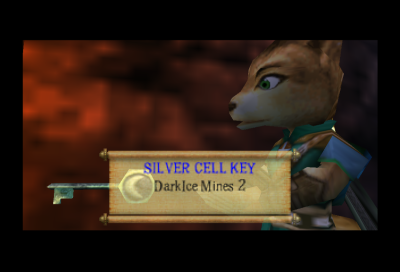
You'll find a tunnel with rocks falling towards you. Make a left and go down the incline, hug and check on the left for two boxes in a incline - one will have a silver Cell Key. We'lre gonna save Tricky!

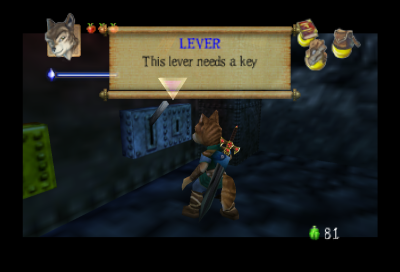
Trace back your step, go up the incline, out of the tunnel.
So, go on the north-west part of the minimap with a SnowClaw and two colored levers. The silver one can be opened with the key you just had and we will have saved Tricky!
For Belina, now that you got Tricky back, go out this little section, face the opposite way and enter the little room ahead. There's an iced Gold Key, use the Flame command to thaw it and retrieve it.
Go back to the area of the SnowClaw and the colored locks, use the Gold Key to free Belinda Te, the daugther of the Guardian. She'll unfortunatly immediatly get stuck again and we'll have to join her at the bottom of the Mines.
In the tunnel Belinda made, look on the right side at it's entrance. There is a diggable section that Tricky can help you with. Crawl inside to go further down the Mines.